Increasing accessibility for some elements of your page is essential to improve the user experience. The good news is that there is an HMTL resource that allows you to create a table of contents in WordPress by bookmarking certain page positions.
The HTML bookmarks help readers to jump to specific parts of a website, making the navigation easier for visitors. These marks are a kind of links (or anchors) that, when clicked, scroll the user’s page to a specific point.
In this article, we created a small tutorial with the best options for creating content tables. It’ll be even easier if your website is WordPress platform-based. There is a plugin that automatically creates a list of links towards each on-page subtitle.
Let’s go? We’ll see:
- How to manually create a table of contents in WordPress?
- How to use a WordPress plugin for this purpose?
- How to use the anchor source for external linking?
How to manually create a table of contents in WordPress
If you have a specific objective and want to make a table for a single blog post, you can create it manually. You must follow two simple steps that we explain below.
First, you need to create the list of links (or anchors) with all the subtitles you want to list:
<a name=”Anchorname”>a named anchor</a>
In this case, we define #anchor_name as an id. This id must be unique, preceded by a hashtag (#) and without spaces or special characters in it. You can only introduce numbers, regular characters, as well as underline (_) and dash (-) symbols in it.
Then, insert the code that will mark the point on the page to redirect the user by clicking it:
<a id=”Anchorname”></a>
The anchor title
In this section, you don’t need to use a hashtag (#). The id previously set appears automatically.
Ready! Your table of contents in WordPress is already working! Make sure that you’ll do the same process for each new subtitle. For example, if your blog post has three subtitles, the table of contents must have the following composition:
<a href=”#introduction”>Introduction</a>
<a href=”#chapter_1″>Chapter 1</a>
<a href=”#conclusion”>Conclusion</a>
Throughout its content, calls to each section will appear as follows:
<a id=”introduction”></a>
Introduction
…
<a id=”chapter_1″></a>
Chapter 1
…
<a id=”conclusion”></a>
Conclusion
You can combine these links with H2 headings, for example. In this case, the code would look like this:
<h2><a name=”introduction”></a>
Introduction</h2>
…
<h2><a name=”chapter_1″></a>
Chapter 1</h2>
…
<h2><a name=”conclusion”></a>
Conclusion</h2>
…
How to use a WordPress plugin to create a table of contents?

Some sites such as Wikipedia use an automated table of contents to facilitate the page configuration. By activating H2, H3, H4, H5 and H6 subtitles, the Wiki page system creates a table of contents automatically.
Table of contents or index
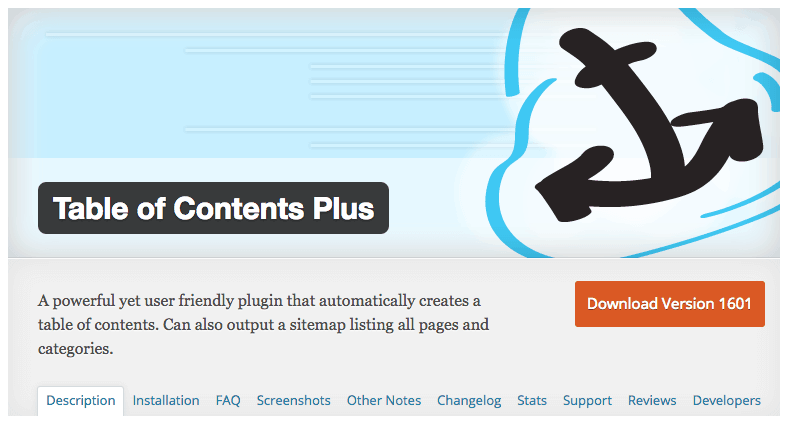
There is also a WordPress plugin, named Table of Contents Plus. It automatically creates a table of contents on your website.

After installing and activating the Table of Contents Plus plugin, your blog post will label automatically. You also can personalize your classification, as shown below:

How to use the anchor source for external linking
Now that you have a table of contents in WordPress, use the new resource to help users to find your specific content sections.
For example, in our content “How to do powerful SEO when using a website builder?” we have the following URL:
rockcontent.com/blog/seo-website-builder
On this page, we have an index, and the last subtitle is named “Website builder SEO checklist”, which uses id #5. You can create a direct link by using a slash (/) at the end of the URL, followed by a hashtag (#) and id. This would be the final result:
rockcontent.com/blog/seo-website-builder/#5
Do you have any questions? Write it down in our comments section!


