So you don’t know how to add Google Analytics to WordPress and want to do it now? Well, after reading this article you’ll have Analytics on your page.
As a good marketer would say: “In God we trust, all others bring data!”. Monitoring and analyzing data has become something crucial to do a good job at Marketing. Every day you have to rely on strategies to bring new people to your site or blog and convert them into leads.
You usually invest in organic search, paid media, social media, email marketing, and others.
At the end of the day, you will want to know if your strategies worked, which one of them was the best and which one needs your attention next time, right?
Well, the only way to be sure that you’re achieving excellent results for your brand and that your strategies are working well is by asking the numbers.
For that, you can add Google Analytics to WordPress — Analytics is a free data analysis software by Google.
Haven’t you set up Google Analytics for WordPress yet? No problem. Just keep reading to discover how to get started.
Here’s what you’re going to see:
What are the advantages of using Google Analytics?
Before we get into specifics regarding the process, it’s important that you properly understand what Google Analytics is and its benefits. Long story short, it’s a free software that provides several analysis parameters about your site.
Some of the main advantages of using Google Analytics can be summarized as follows:
- It’s a free tool
- You can conduct quantitative analysis (how many people visited, how long each session lasted)
- It’s also possible to check qualitative data (where people are coming from, which pages they visited)
- It’s also possible to create a conversion funnel to see the ROI of each action
Now that you know how crucial Google Analytics is for your marketing strategy, follow the step-by-step instructions on how to add it to WordPress!
<!–[if lte IE 8]><![endif]–> hbspt.cta.load(355484, ’47f60a2c-ba01-437b-a5b5-dff3a81a6f58′, {});
How to add Google Analytics to WordPress?
After creating an account on Analytics, you will need to install it on WordPress if you want to keep track of your site’s data.
In this post, we will cover the two main ways of doing that — using a plugin and adding the code directly in the WordPress template. If you’re looking for an easy and quick process, a plugin should work best for you.
But if you want to go for a manual approach, we recommend telling your developer to back up the site beforehand.
Step-by-step guide for installation via a plugin
The most popular WordPress plugin is MonsterInsights, and that’s the one we’re going to use in this guide. More than a million sites use that plugin, and its free version already provides Analytics and the functionalities you will need.
The first step is to install and enable the plugin. To find it, you only need to log into your WordPress account and click on “plugins” on the left side of the dashboard.

Then, you have to look for “MonsterInsights”:

Next, click on “Install Now” and on “Enable”. The plugin will display this page:

Select your website’s category — Business, Publisher, or E-commerce —, then click on “Save and Continue”.
Right after that page, you will see another one with a button to connect Analytics to WordPress. Click on it to proceed with the installation.

After clicking on the button, the plugin will show you a login pop-up from Google. That’s when you should select your Google account that’s connected to Analytics. When you’re done with it, click “Allow”.

We’re almost there! Now, you have to select the site you want to monitor. Just type the domain and click “Complete Connection”.

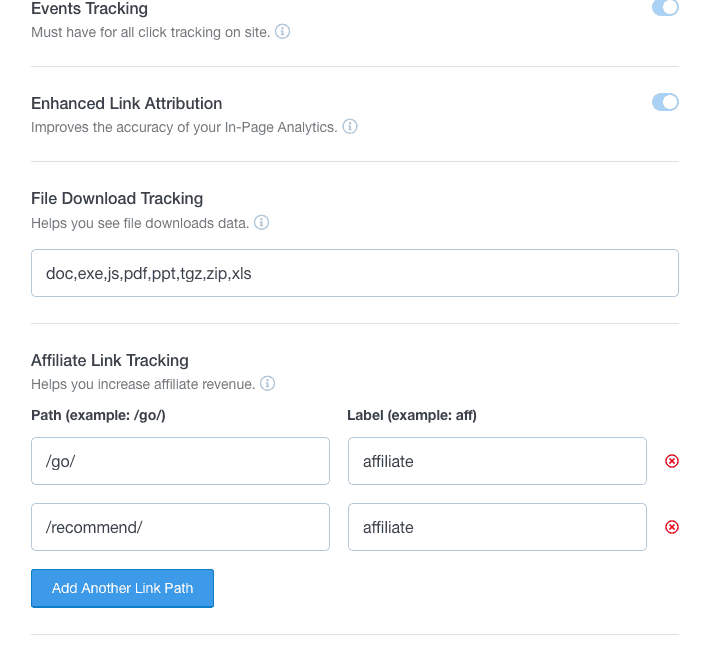
MonsterInsights will ask you for some information about your website. You don’t need to worry about that at first — default settings usually work for most of the sites.

The next two pages offer optional resources, not associated with Analytics itself. The first of them presents other products and upgrades from MonsterInsights. The second talks about another plugin, the WPForms. To buy some time, you can skip all that.

There you go! With only a few clicks, Google Analytics is set up on your site. You will see this message:

The good news is if you want to see a report inside WordPress, now you can do that with MonsterInsights. Just access the “Insights” tab on the left side of the dashboard.

Weren’t you able to install Analytics with a plugin? Or do you prefer to do it another way?
Don’t worry! We’re also going to teach you how to add Analytics to WordPress directly in the template code.
Step-by-step for installation via WordPress theme
Before we begin, it’s important to mention that we’re going to do some coding. So, if you are not an expert on that, please talk to your developer to make sure that there’s a backup ready.
As this process is manual, it’s also important to point out that you need to use an original WordPress theme to keep the tracking code from disappearing whenever you update your template.
The first thing you need is to access your Analytics account and click on the gear icon at the bottom left. After you’ve done that, click “tracking info” and then “tracking code”.

You will see this page:

One of the many things you will see is the tracking code, which will send your site information to Google Analytics.
Now, copy that, and let’s get back to WordPress and navigate to “Editor”, which is within the “Appearance” tab.

Once you’re in the editor, let’s paste the code in the “header.php” file. You can find it on the right side of the screen.

Have you already opened the header file? That means we’re getting there! Now, paste the code that you’ve just copied from Google Analytics.
Important — this script should be pasted right before the “<head>” tag.

Finally, click on “Update File” and you’re all set! Google Analytics will start tracking data on your site after that.
We hope that this guide helps you add Google Analytics to WordPress successfully so you can start monitoring your site. Now get the most out of your website with our free, updated Google Analytics guide.
If you’re looking for more performance on your website you need to know how’s your page speed. Put your URL below and get free insights on how to make your website faster!


